Final Fantasy 1 Beginner Club W01
| Week 01 | 2025-08-22T15:00:00Z (warmup) |
|---|---|
| Next week | 💎 Final Fantasy 1 - Week 2 |
| Home Threads | FFBC / FF1BC |
Vocabulary sheets, transcriptions etc.:
This section will unfortunately be one of the most challenging of the entire game given that it contains a lot more text than most other weeks (assuming that you trigger all optional dialogue with NPC) and of course you’ll also have to familiarize yourself with the gameplay elements.
As a result I decided to start a week earlier and spread this section over two weeks to allow players to take their time and progress at their own pace. Don’t hesitate to ask questions!
Stopping point
Every week I’ll try to spoiler-free indications for the end point of the section. Players who want to figure things out fully on their own can just read this and play. If you want some more precise hints and tips, read the hidden sections below.
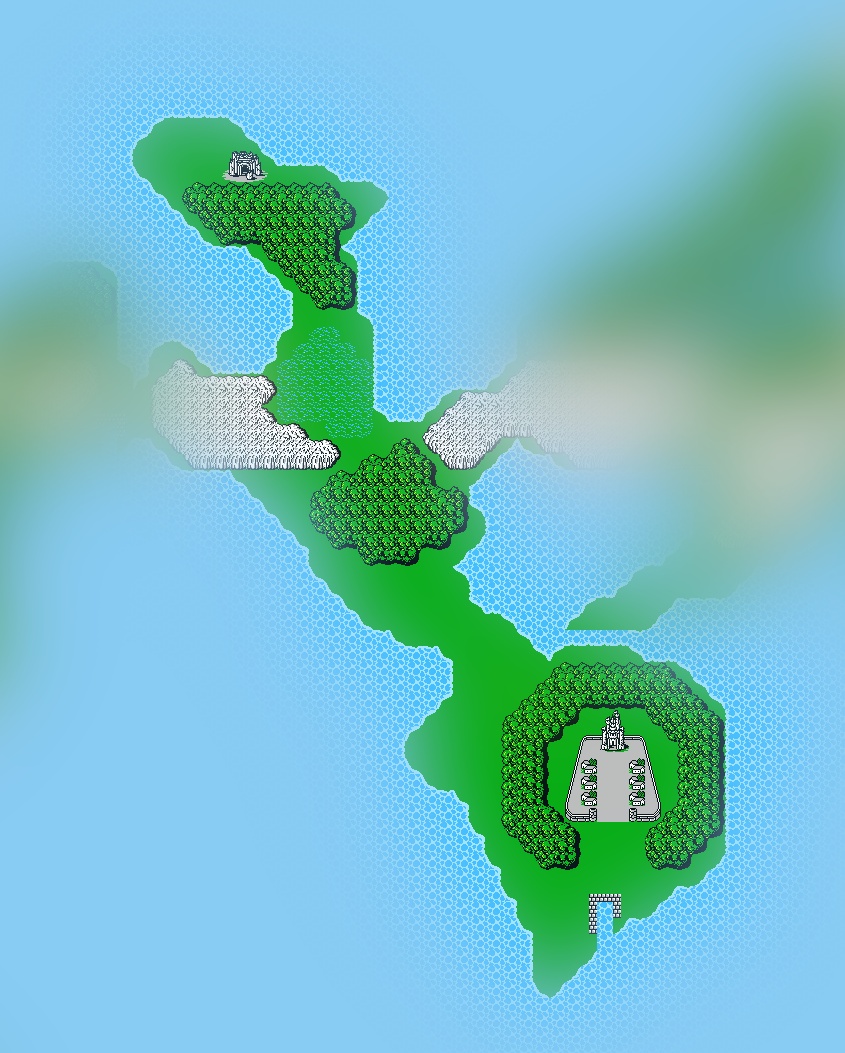
For this week you can explore the town and castle of Cornelia (there are two locations on the world map right next to each-other: the castle and the town with all the shops). Gear up and try leveling up a bit by fighting monsters in the overworld, it’ll make the next sections easier.
You can also explore the world. There is a separate location to the North of Cornelia, the Chaos Shrine. Don’t enter that yet, it’s for next week!
Map
Tips
Let's Party
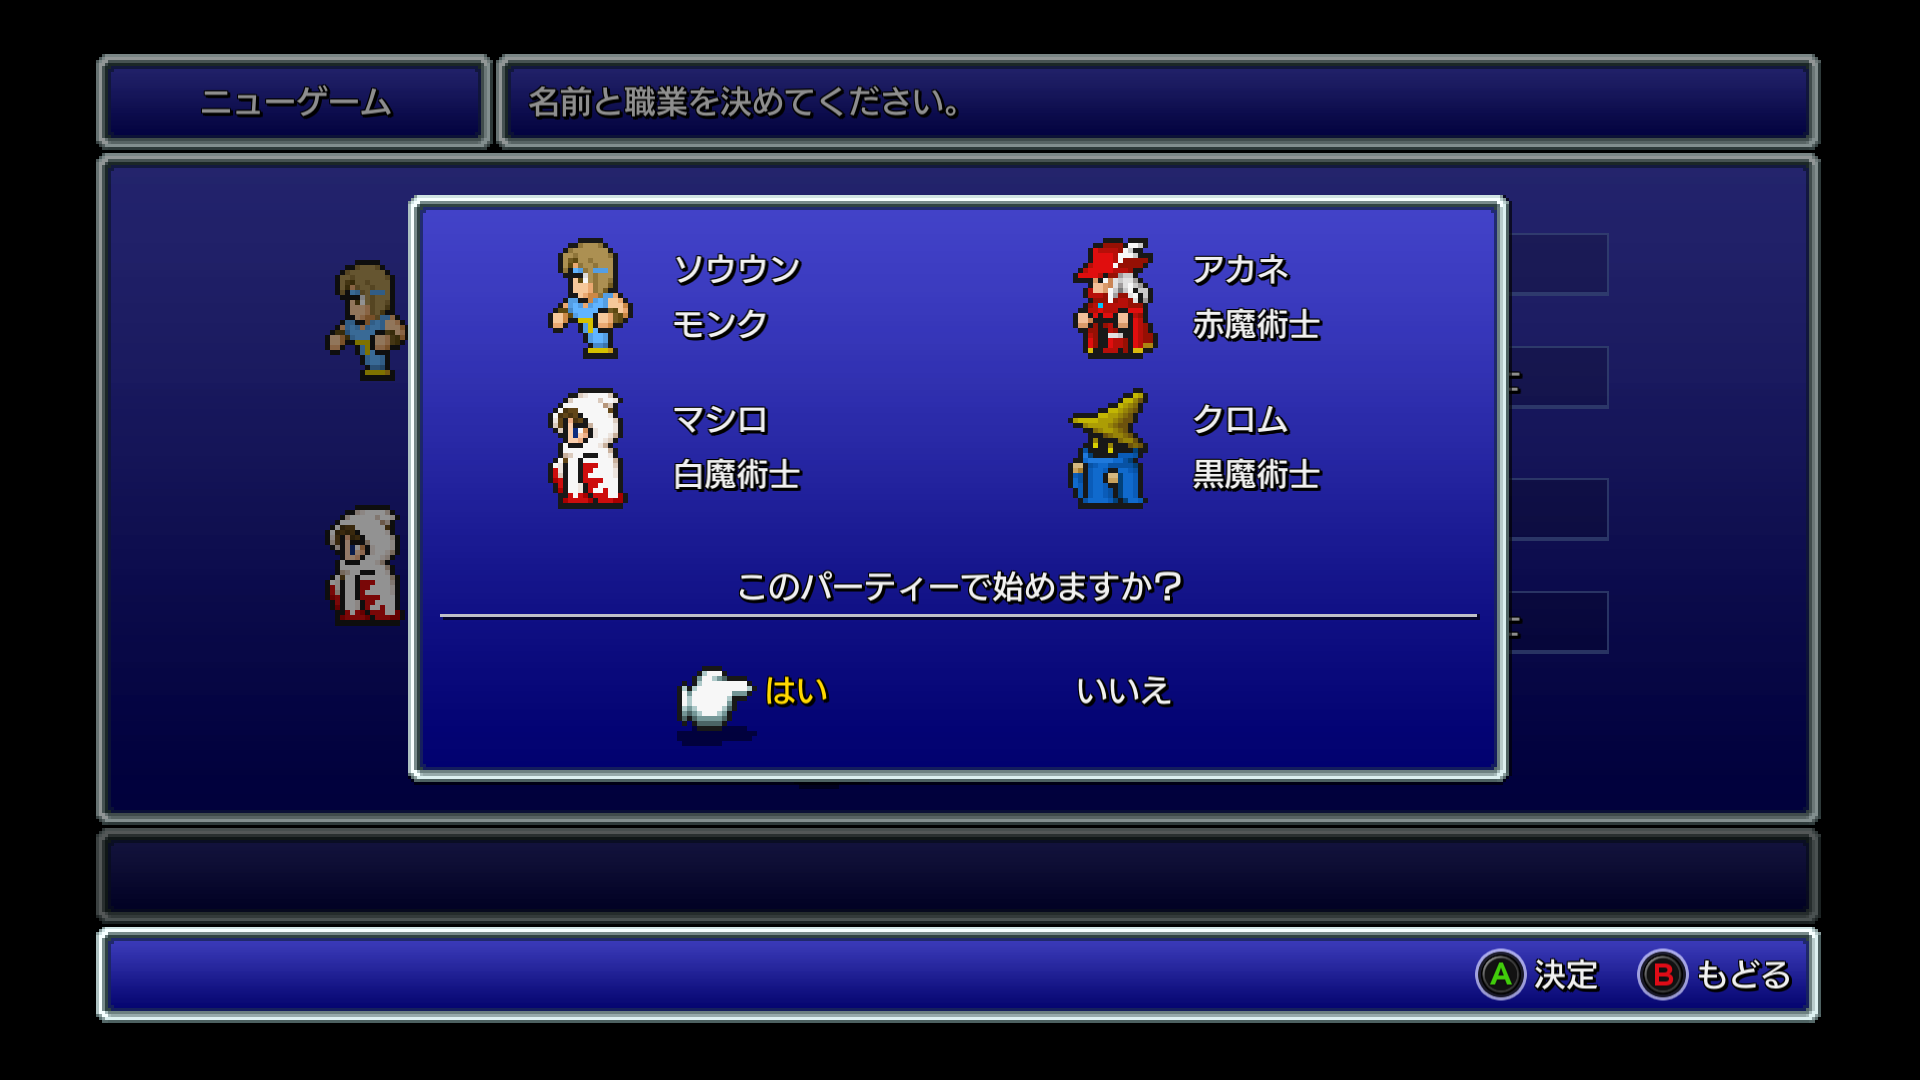
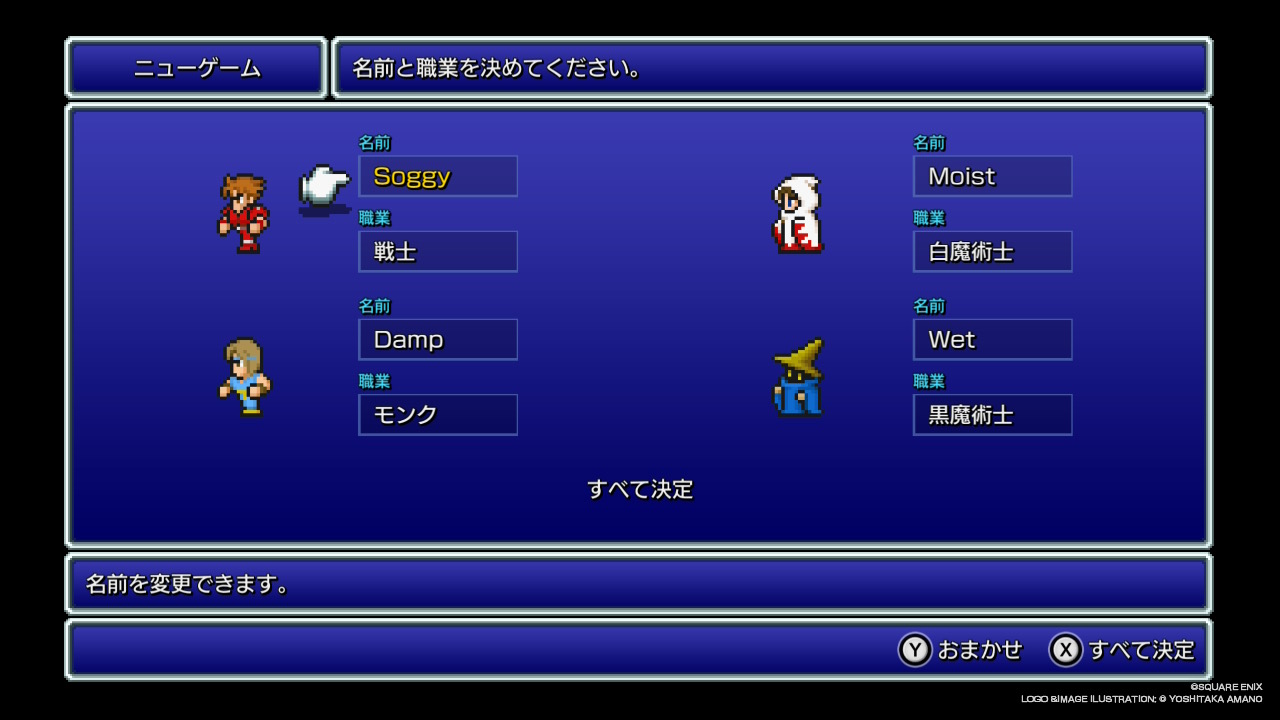
People familiar with more recent Final Fantasy games (or even just JRPGs in general) may be surprised to discover that, in FF1, you don’t slowly assemble your party over the course of the game. Instead you recruit your four “Warriors of Light” once and for all at the start of the game by choosing their name and “job” (class).
The choice of party is purely a combat thing, it has no influence on the story of the game or which quests are available.
You can’t change these jobs or names later in the game, these decisions are final. The only thing you can change at any point in-game is the order of the characters in battle. This is important!
Party order
The party order (which character is first at the top of the screen during combat) doesn’t make a difference in most later FF games but is a very important consideration in FF1. When enemies attack, they will target the following party member:
- 1st (topmost) party member 50% of the time
- 2nd party member 25% of the time
- 3rd party member 12.5% of the time
- 4th (bottom-most) party member 12.5% of the time
As a result you should always try to have the most “tanky” character (a warrior for instance) at the top and your squishiest characters (black mages for instance) towards the bottom.
Note that while you can’t change job/classes after the start of the game, you can always reorder your characters in the menu at any time. So don’t worry if you picked a wrong order at the creation screen, you can shuffle your party later at your leisure.
ジョブ/jobs/classes
Here’s a brief description of the 6 jobs/classes in FF1. It’s incomplete and doesn’t mention things like class promotions that happen late in the game and aren’t really relevant for us at this point:
Warrior/戦士
Can use most weapons and heavy armour. High stats. You bash enemies in the face with swords and axes until they die.
Thief/シーフ
FF1 doesn’t have any sneaking/stealing/lockpicking mechanics, so the thieves won’t do a lot of thieving. Their main skill is being able to flee combat at a high success rate which can be useful for survival, especially early on. For the rest they’re basically a worse warrior.
This job is often considered the worst in the game because it can’t use a lot of gear and its stats are lackluster, especially very early on. It’s still perfectly viable though.
Monk/モンク
It’s probably my favourite class in the game but you need to understand how it works in order to use it effectively:
At low level (until around level 10), the monk just sucks. It’s a worse warrior that can’t use most armor and weapons.
But there’s a trick: the monk gains unarmed attack bonuses and unarmoured defense bonuses at every level. That means that around level 8 you should unequip all weapon and armour and just fight everything mano a mano. At high level towards the end of the game the monk can out-damage even the warrior without requiring any valuable weapon or armour.
So in other words it’s probably the worst job at the very start of the game, then it becomes ok in the mid game, and then you can just kill god with your bare fists by the end.
White mage/白魔術士
Can access all the white magic in the game. That’s mainly a lot of heal/protection spells but also some specialized attack spells like Dia that hurt undead creatures (of which there are many in this game).
Black mage/黒魔術士
Can access all the black magic in the game. That’s mainly offensive spells but also some spells that boost stats like “haste” or cause status ailment like “sleep”.
Red mage/赤魔術士
This is an interesting one: the red mage is a mix of a black mage, a white mage and a warrior. It can use more weapons than the other mages and is better at physical offense (although not as good as the warrior) but it can also learn a selection of black and white spells (although not all of them).
That makes it a very flexible class that’s extremely powerful in the early game, although its lack of specialization may make it a bit less exceptional in the late game.
Party-building tips
You can give the same job to multiple party members. If you want a team of 4 thieves, you can do it. Whether you should do it, however, is a separate concern.
Most “reasonable” parties should be decently viable, it’s not a very hard game. At worse you’ll have to grind a bit if you struggle with a specific dungeon/boss.
What’s a “reasonable” party? Here are a few basic tips, although you could easily build a very good party that doesn’t adhere to these rules:
- You probably don’t want multiple party members with the same job.
- You probably want a warrior (on the top row, to tank the attacks, see “Party order” above)
- You probably want a white mage or red mage (for the healing spells)
- You probably want a black mage or red mage (for the powerful elemental spells)
If you want a much more detailed guide, have a look here: Final Fantasy Party Construction - Google Docs
But don’t overthink it. Unless you go for something really bizarre like 4 white mages, you should be ok.
This all sounds too complicated, tell me what I should pick
- Warrior
- Monk/Thief
- White mage
- Black mage
Magic is tedious? You just want to press たたかう for every encounter? Ok then:
- Warrior
- Warrior
- Warrior
- Red mage
The intro
The introduction of the game contains text that’s written in a somewhat literary way and that can’t be paused in most versions of the game, so I include it here (it’s in the google sheet as well of course):
この世は暗黒に包まれている
風はやみ
海は荒れ⋯
大地は腐ってゆく
しかし⋯
人々はひとつの予言を信じ
それを待っていた
『その世 暗黒に染まりし時4人の光の戦士現れん⋯』
長い冒険の末 4人の若者がこの地にたどり着いた
そしてその手にはそれぞれクリスタルが握られていた⋯
My attempt at a literal translation if you don’t want to bother with this (again, it is significantly harder than the usual text in this game):
This world is shrouded in darkness
The wind stopped
The oceans grow stormy
The earth is rotting away
However…
The people believed in one prophecy
And were waiting for it [to come true]
“When this world is tainted by darkness, four warriors of light will appear…”
At the end of a long adventure, four young people arrived to this land, and in their hands each of them held a Crystal…
I capitalize “Crystal” here because it’s spelled クリスタル, but other references to “crystals” in this game use the sino-japonic 水晶. A distinction that helps resolve some ambiguity at times, but is lost in translation.
Spell mechanics
This section describes spell mechanics in the original Famicom/NES version and the Pixel Remaster. Some other versions have a modified system using Magic Points instead and work a bit differently. Fell free to comment if you want help with those.
It’s probably worth explaining how spells work in this game because it can be a bit confusing at first:
- Spells are bought in dedicated shops in towns. There are separate shops for black and white magic.
- Every spell has a level, which I’m going to call “tier” in the rest of this explanation to avoid creating confusion with the character’s level which is a separate thing.
For instance Fire is a tier 1 black magic spell, while Life is a tier 5 white magic spell. - There are exactly 4 black magic and 4 white magic spells available per tier. Most are sold together in shops, for instance the 2 shops in Cornelia contain the 8 tier 1 black an white magic spells.
- However a mage can only learn 3 spells for every magic tier, so for instance a single white mage can only memorize 3 out of 4 magic spells for any given tier at the same time.
- Once a spell has been learned by a mage, it can be cast in combat (or, in some cases, outside of combat through the menu).
- In the original NES release, spells could not be forgotten. In the Pixel Remaster however you can forget and replace spells, so feel free to experiment.
- A mage only has a set number of “charges” per magic tier limiting how many times you can cast a spell before having to replenish your charges at an inn or using items.
- Spells at the same magic tier share the number of charges, but spells at different tiers have separate charge counts.
So for instance a mage may be able to cast 3 tier 1 spells and 1 tier 2 spell before having to recharge. - The max number of charges you get increases as your mage’s level increases.
The individual spells are described in more details in the Google sheet.
Participation
- I’m playing along
- I will catch up later
- I’m still playing but I haven’t reached this section yet
- I’m a filthy preplayer but I’m here for the discussion
Party composition
Tell us who you recruited (pick all applicable):
- Warrior・戦士
- Thief・シーフ
- Monk・モンク
- White mage・白魔術士
- Black mage・黒魔術士
- Red mage・赤魔術士
- 2nd Warrior
- 2nd Thief
- 2nd Monk
- 2nd White mage
- 2nd Black mage
- 2nd Red mage
- Three members with the same job
- All four members with the same job