7 Likes
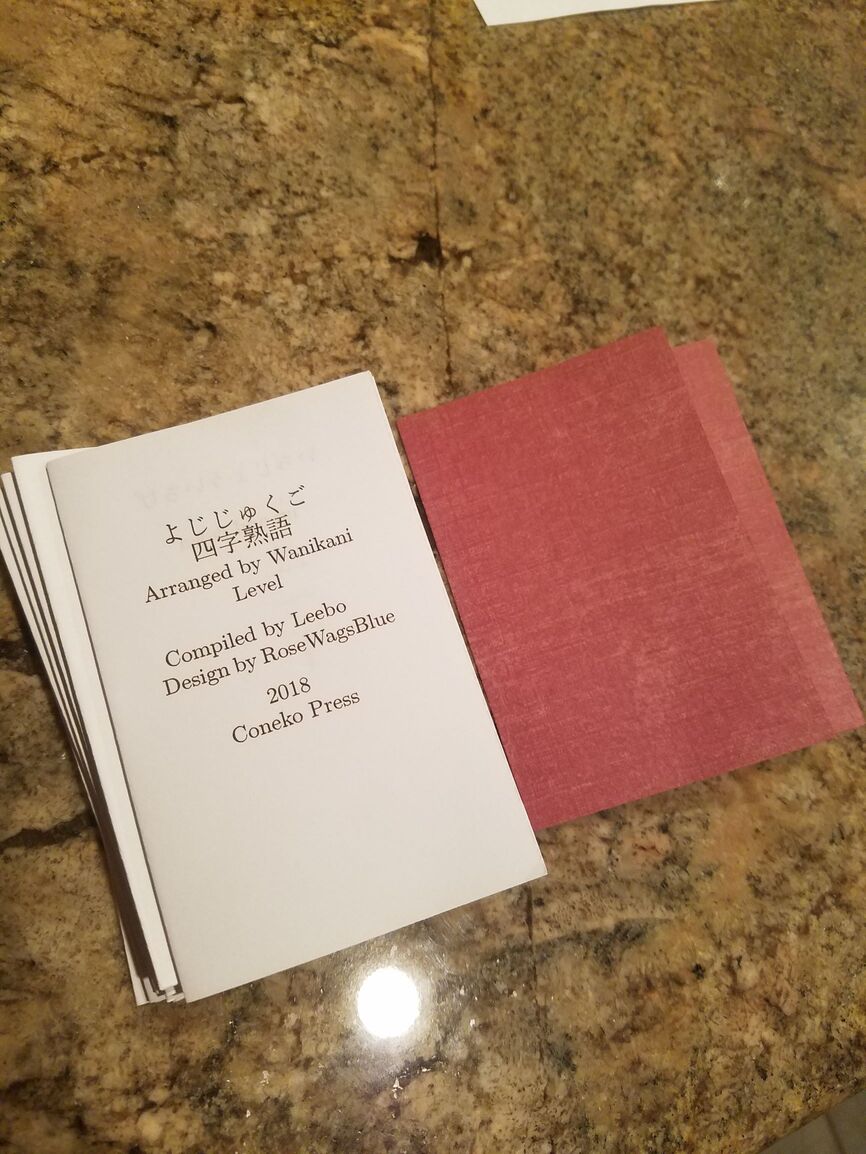
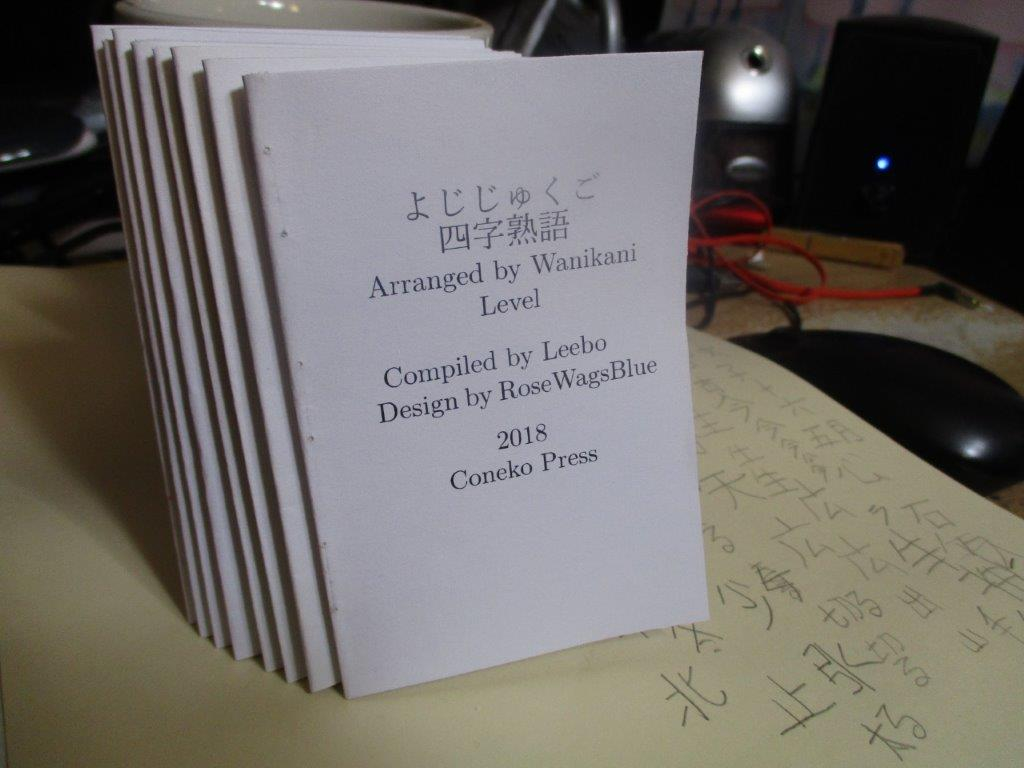
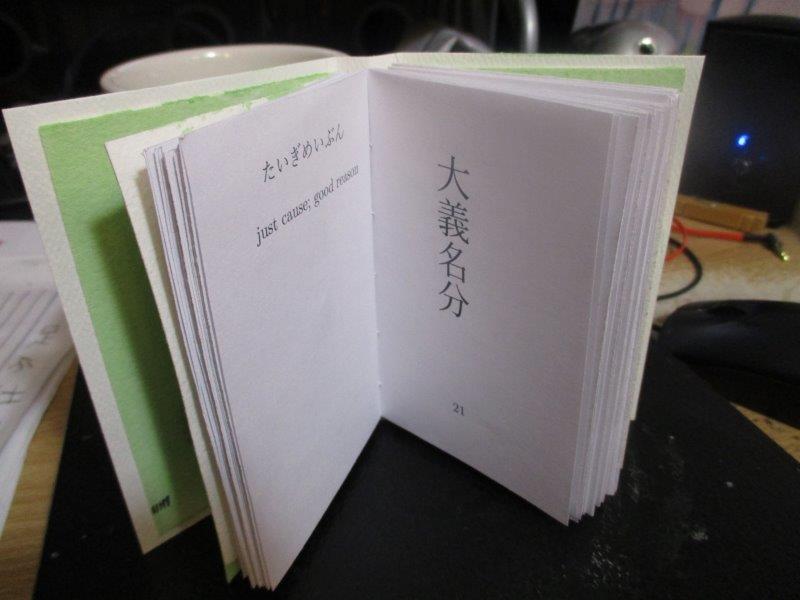
This is the book as is.
Each little folded part is one “signature”. Each signature is one piece of paper, folded, then the edges chopped off. If you look closely at decently bound books, they are all assembled this way.
I just realized that the first purchase I ever made as an adult (over 30 years ago) was my paper cutter. I still use it. It has cut a lot of little books.


Still to do: bind book.
- Clamp pages
- Drill holes
- Stitch binding
- Make cardboard cover
- Glue end-papers into cover
Actually, there is still a step before these. I need to go through all of the hiragana transcriptions and English translations to double check them, then print out another copy on good paper.
The book is designed in LaTeX. My code is embarrassingly sloppy, but it works, so I may not bother fixing it.
I will post the PDF after I check it over one more time later today.
Thank you @Belthazar for the logo idea. The logo, of course also refers to the famous zen monk hanging over a precipice.
11 Likes
Okay, so here is the link to the PDF
yojijukugo book
It is a little confounding to see how each page folds, but it makes sense after a while.
I can write some instructions on how to fold pages, if requested.
![]()
I just invented “Coneko” press while I was sleeping last night. ![]()
8 Likes
Thank you so much!
Yeah I’m gonna have to stare at that for a bit, haha ^^
1 Like
What are you using to print them generate the layout for printing? I’ve pulled my hair out many times trying to figure out how to print 4-pager or 8-pager signatures in the correct order/orientation at work. It seems like I give up just before I figure it out every time because I’m wasting more time than it would take to cheat and just print 2-pagers and bind them all as flat sheets.
Complication: Microsoft Office house - no LaTeX install allowed.
Edit: so I worded that poorly - you’re using LaTeX. The question is, can that be done in MS Office?
Looks great!
1 Like
The instructions confused me for a bit because in origami instructions,

means fold toward yourself while

means fold away from yourself.
1 Like
Sorry, I did the best I could quickly with “paint”.
That is why I wrote, fold away from you. But, I will change the diagram.
That looks really awesome!
1 Like
Thanks!
I have been where you are at many times over the years. I have this thing about folding a book together, but really, it would be easier to just do 2-pagers as you suggest.
This project is not easy to do with LaTeX either. I created individual A7 PDF pages, then used a package called pdfpages to assemble the pages into a single document. But, the documentation for this package is very sketchy. It took lots of internet research, and tons of playing around, to get everything to come out correctly. I will write a whole description later. The page numbering, orientation of the text, and Kanji all presented individual problems.
I have done this type of project before using Open Office Draw. But, you need to manually put the pages into the right place n each sheet. It is way easier than using Word, however.
Thanks you!
1 Like
How hard is binding a book? I really want this but…I am about as good at doing crafts as … a square is at being circular
1 Like
It is a little complex. The easy thing, for a little larger of a document, is to bring it to an office supply place and have then put a ring binding on it or something. I don’t know if that work for something so small.
My process involves three pieces of cardboard, one for the front, back, and spine. These are lain flat with a little space between them, on top of the cover paper. You cut and trace the cover paper with flaps around the edges, then glue it on. So the entire cover is created separately from the guts.
The cover and the book are held together with the end papers, which are glued in. The end papers cover the edges of the paper covering of the cardboard that you just made. If you look at a well made hardcover, you can see that it works this way.
Of course, the whole text was previously clamped and drilled and stitched and maybe glued.
In a perfect world, with no job responsibilities, I would make a few of these and put them up on Etsy for cheap …
Physical books a passion of mine, so I have been experimenting with this since my teens, with occasional good results.
5 Likes
I have the distinct advantage of having a girlfriend that studied book arts. Look forward to assembling this together with her. Thanks for this.
4 Likes
That would be cheating in book making!
I realized that the binding is a little narrow to stitch across it. The pages end up a little tight.
In my final version, I am going to stitch down each signature with a sewing machine, then sew each signature onto a fabric spine.
1 Like
By the way I am so delighted that someone else is going to make one of these. ![]()
2 Likes
My final book:
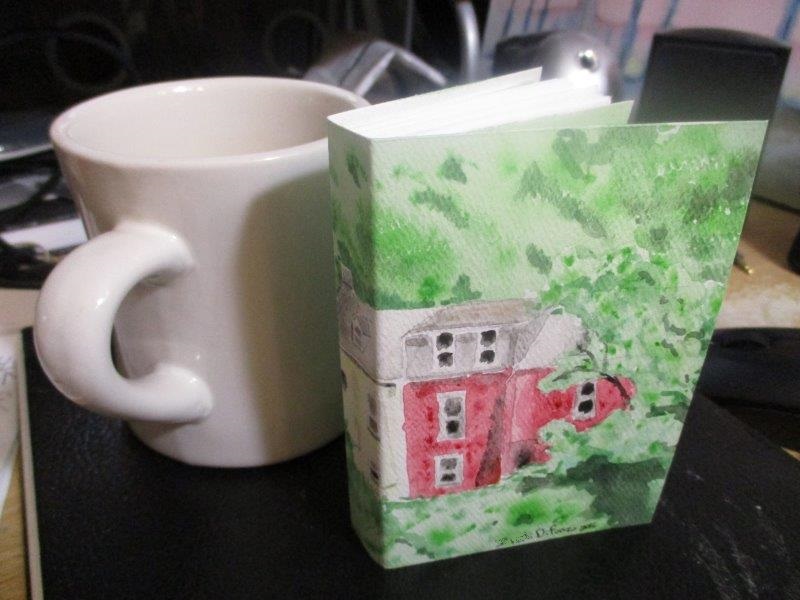
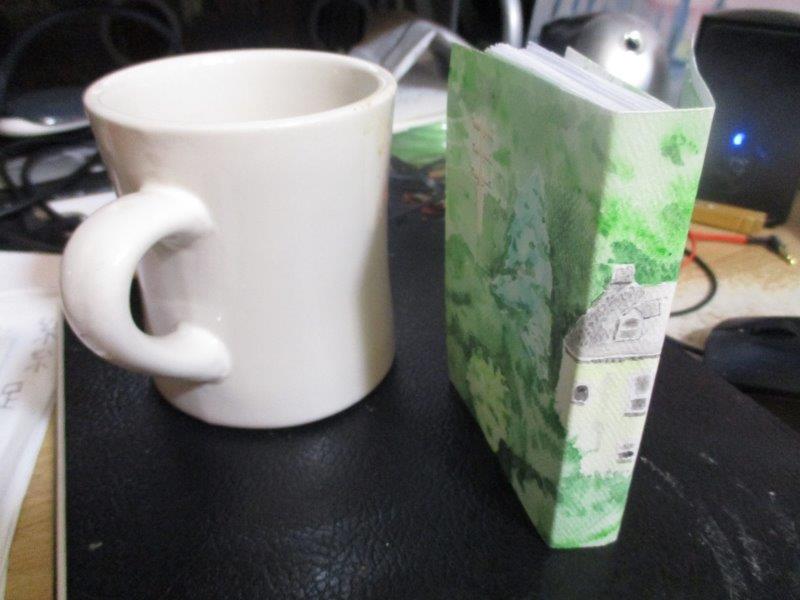
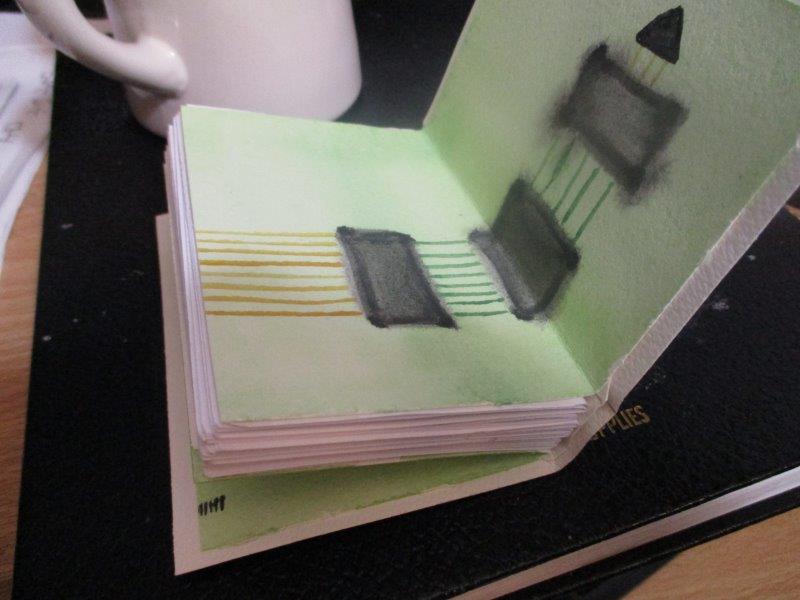
The front cover is chopped down from a watercolor painted a few years ago. (It is actually a group of row homes on the side of the mountain that I can see from sitting on my roof) The end papers are just some painting scraps from in my watercolor box. (They are actually paintings of circuit boards)
I am so happy with this! I haven’t made a book in a few years, and I remember now what I like so much about it. I am going to perfect my LaTeX code for this book, to make a class especially for printing little 日本 books! ( I need a new paper cutter too. I have had mine for 35 years. It has always bugged me that it is a little off from square. )
Thank you Leebo for compiling these, and giving me the idea of making these fun little books. ![]()
18 Likes

My first attempt at bookbinding ever. Pretty messy, and I broke a needle right before the last signature, but it didn’t go as badly as I thought it could.
8 Likes
That looks really good!
I should have posted some pictures of my stitching. I only did five holes, and did a different stitch pattern, and it went really well.
In the near future, I am going to make a new thread just for little handmade Japanese language books.
3 Likes