Final Fantasy 3 Beginner Club W01
| Week 01 | 2026-03-27T15:00:00Z |
|---|---|
| Next week | 🧅 Final Fantasy 3 - Week 2 |
| Home Threads | FFBC / FF3BC |
Vocabulary sheets, transcriptions etc.:
Here we go!

Please be extra-mindful of spoilers, as these games become more and more plot-driven it’s important to avoid revealing even minor details of future events, characters and locations. If you’re not sure if something is spoilery or not, better just throws it in a [spoiler] just in case.
Stopping point
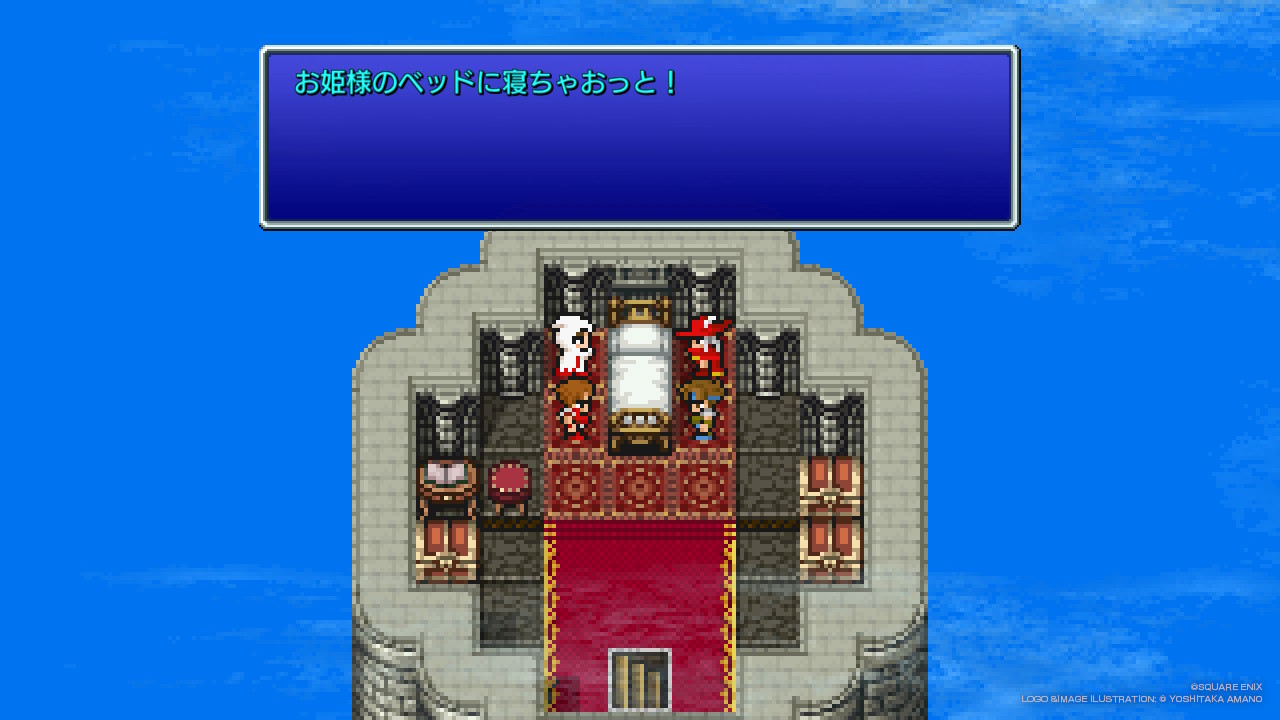
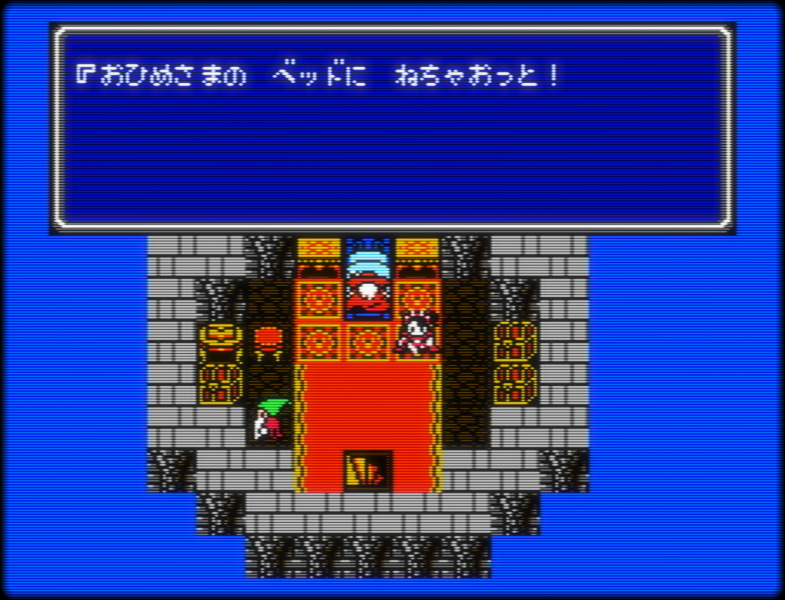
After a cutscene in Sasun Castle where somebody throws something in a pool of water. After that you can talk to an important NPC to receive a key item, then exit to the world map and save.
In the 3D version you’ll be given the item as part of the cutscene, in the others you have to talk to the NPC manually.

More details
I’m going to be less specific with my instructions this time around, both because you should be familiar with the structure of these games by now and because this game does a better job of guiding you. If you don’t know what to do, talk to the NPCs! They often have interesting clues. This time around the Pixel Remaster didn’t even feel the need to add a bunch of おじさん to explain the game to you!
Wind Cave
Reach the cave’s exit, then walk to the nearby village. Note that there is an additional area of the cave that you can explore if you re-enter it from the world map, you can find some decent starter gear there if you want.
Uru village
Towns and villages in Final Fantasy 3 have a lot of secrets and hidden treasures if you take the time to find them. Talking with the NPCs can provide clues. In the Pixel Remaster you can see a tally of how many treasures are left to find in every town from the world map, you can look at it to see if you’re missing something. Generally the Pixel Remaster has added a bunch of visual cues to better indicate invisible walls and the like, the Famicom version is not quite as kind.
If you struggle to find some treasures, I recommend this website: 【FF3】祭壇の洞窟~ウルの村|攻略チャート|FF3ピクセルリマスター攻略@じんそく
It has detailed maps for every locations. Here’s the one for this town:

Yo can see the various 「宝」の印 indicating the treasures.
Anyway, it’s probably worth exploring the village to find some valuable treasure and get some exposition. Once you’re done you can leave the village and walk south through the valley until you reach the town of Kazus.
Oh and if you want more details regarding the job system at this point, read the “gig economy” section below.
Kazus
There’s one key encounter there with a familiar character. They will tell you that something is hidden in the nearby desert. Once you’re done exploring the town you can head there and claim it.
Then go Westward to Sasun Castle.
Sasun Castle
The NPCs have important information about our next task, and there’s some valuable treasure to be found in the castle. Once you’re done preparing you can leave the castle and finally go North to the Seal Cave, across the lake.
Seal Cave
Finish this dungeon and you’ve made it to the end of this week! Wait until the cutscene ends, then talk to the NPC in the room until you get the canoe. After that return to the world map and save, we’re done for this week!
If you struggle with this dungeon, here are a few tips:
- The Cure spell deals heavy damage to undead monsters. 2 cure spells can be found this week (but not in shops).
- The Wightslayer sword can also be found and it also deals heavy damage to the undead.
- Since this game returns to a fairly standard leveling system, grinding is more straightforward than in FF2. Just gain a level or two and things should become easier.
- And of course you can experiment with other job combinations. You probably want at least one white mage to heal and damage undead. Meanwhile black mages are a bit useless this week due to the lack of offensive spells, you’re probably better off using red mages instead.
Map

Miscellaneous
The intro
Once again we have a short intro with fairly complicated text. You can find the transcript in the spreadsheet of course but I’ll also put it here for convenience:
そのグルガン族の男は静かに語って⋯。
その大地震でさえも、単なる予兆にすぎぬと。
世界の光の源であるクリスタルを地中深く引きずり込み、魔物を生み出した大きな震えさえも、これか訪れるものに比べれば、ちっぽけなものである。
それはとてつもなく大きく、深く、暗く、そして悲しい⋯。
だが、希望はまだ失われてはいない。
4つの魂が、光に啓示を受けるであろう。
そこから、すべてが始まり⋯。
4人の少年たちはみなしごで、辺境の村ウルの僧侶トパパに育てられた。
大地震でクリスタルが地中に沈み、そこにできた洞窟へとやってきた。
4人は探検気分。
ちょっとした度胸試しのつもりだった⋯。
My attempt at a literal translation:
This man of the Gurgan tribe is quietly chanting…
That great earthquake was but an omen.
The tremors that have given birth to monsters and have sunk the crystals that illuminate the world are mere shivers compared to what’s to come.
It will be immense, fathomless, dark and wretched…
However, hope is not yet lost.
Four souls shall receive the divine revelation from the light.
Thence, all will begin…
Four young orphans were raised in the remote village of Ur by the priest Topapa.
They arrived at the cave created by the great earthquake that sunk the crystals into the earth.
The four are in the mood for exploration.
It was meant to be a mere test of courage…
You way want to read this only after you’ve reached the first town:
The gig economy
Classes are back! Except they’re called jobs this time. And they work a bit differently.
You will have noticed that you start with your four party members being Onion Knights (Freelancer, in the 3D version), but the Wind Crystal gave you a bunch of additional classes to choose from:
- warrior
- monk
- white mage
- black mage
- red mage
You’ll notice that those are the same jobs as the starting classes in FF1, with the exception of the thief (incidentally the 3D version does provide the thief job at this point in the game, completing the set).
Unlike in FF1, you can change any character’s class (or job) at any moment. In the Famicom version you have to use special points (denoted by the letter C) to change job, and you gain these points alongside experience during fights. The cost to switch job varies depending on how similar the target job is to your current job (and also I think how much experience you have at the particular job, so that it’s easy to return characters to a previous job):

You can see here that my warrior can change to the monk job by using 8C, but it would cost 16C to become a white mage.
Instead of this point system, the 3D version apparently has your character become temporarily a little less effective in combat right after a class change to discourage constant job switching.
The Pixel Remaster has no constraints whatsoever, you can change job to your heart’s content at any moment.
Due to this multiclassing system, your characters have effectively multiple levels: their actual level and their various job 熟練度 that represents the level of proficiency in a given class.
Here you can see that this character is LEVEL 8 but has job level 6 as a white mage:

So you can see that changing classes still has drawbacks even it the Pixel Remaster since you’ll spread up your experience across multiple jobs if you don’t specialize. They will catch up quickly however if you end up committing, so don’t worry too much about that if you want to experiment with new job combinations. The game is clearly built around the assumption that you will reclass regularly.
You’ll see that it functions a bit like a puzzle at times, the game clearly nudges you towards using certain jobs to clear some dungeons. Even this week, if you pay attention, the game clearly pushes you towards certain classes more than other through gear and spell availability, as well as enemy design.
Participation
- I’m playing along
- I will catch up later
- I’m still playing but I haven’t reached this section yet
- I’m a filthy preplayer but I’m here for the discussion
- I have played this game before (in part or in full) in English
- I have played this game before (in part or in full) in Japanese
- I have never played this game before
- I have taken part in the FF1 club
- I have taken part in the FF2 club
- It’s my first participation in one of these clubs
- Famicom
- Pixel Remaster
- 3D