The recent content overhaul has caused some kanji to move around in levels, so I’ve regenerated the files needed to import all WaniKani kanji into Kanji Study, in the exact same new ordering that WaniKani uses.
Zip of kanji text files to import to Kanji Study
Download a zip of the kanji text files from here:
https://github.com/normful/wanikani-kanji-to-export-to-kanji-study-generated-on-2018-12-15-after-content-overhaul.zip/raw/master/wanikani-kanji-to-export-to-kanji-study-generated-on-2018-12-15-after-content-overhaul.zip
All text files in the zip are ordered to match the exact same ordering that WaniKani displays them on kanji level pages such as: WaniKani / Level 1
Import Instructions
-
Copy the zip to your Android device and unzip them.
-
Tap on Custom Groups in the main menu.
-
Expand the bottom right menu and tap the Create new group icon.
-
Type in a group name (I just use the WaniKani level numbers).
-
After creating the group, tap on the group to enter it. Then expand the bottom right menu and tap Import from text file. You should be prompted to browse files with your file manager. Navigate to where you unzipped the files and select the corresponding NN.txt file.
-
Now you’re done importing level 1. This is what it should look like:
-
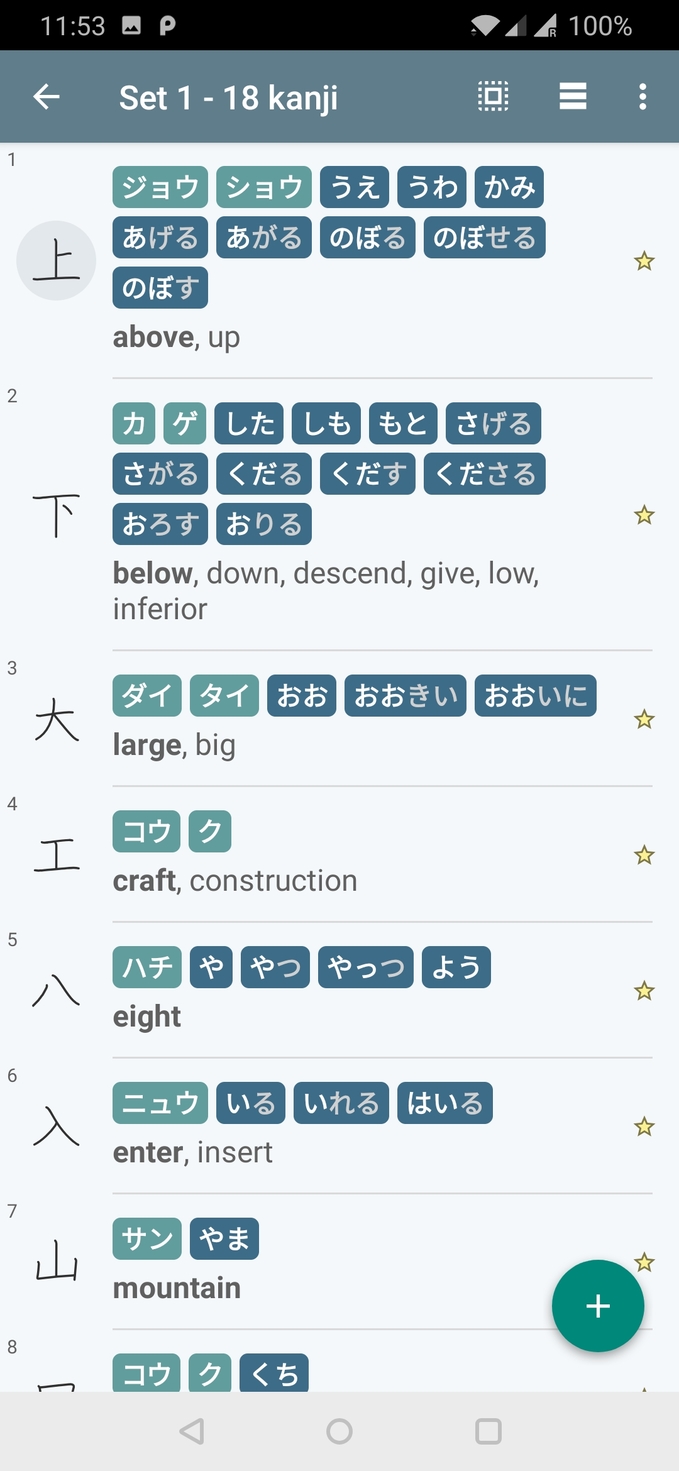
If you tap on the first set entry within level 1, you can happily see that the kanji are ordered in the exact same order that WaniKani orders them in WaniKani / Level 1
-
Repeat steps 3 to 5 above for all 60 files to import all 60 levels, or just import the levels you need. (Yes, it’s tedious and time consuming, but so is learning kanji.) After you’re done, it should look something like this:


(Optional) How to split, mark seen after studying, and merge kanji
THIS SECTION IS OPTIONAL
The process I use for studying with Kanji Study is outlined below.
After importing kanji, they will be in 1 big set per level, by default. It’s hard for me to select only 1 kanji to study and it’s hard to see at a glance which ones I’ve already studied. So I like to do the following:
-
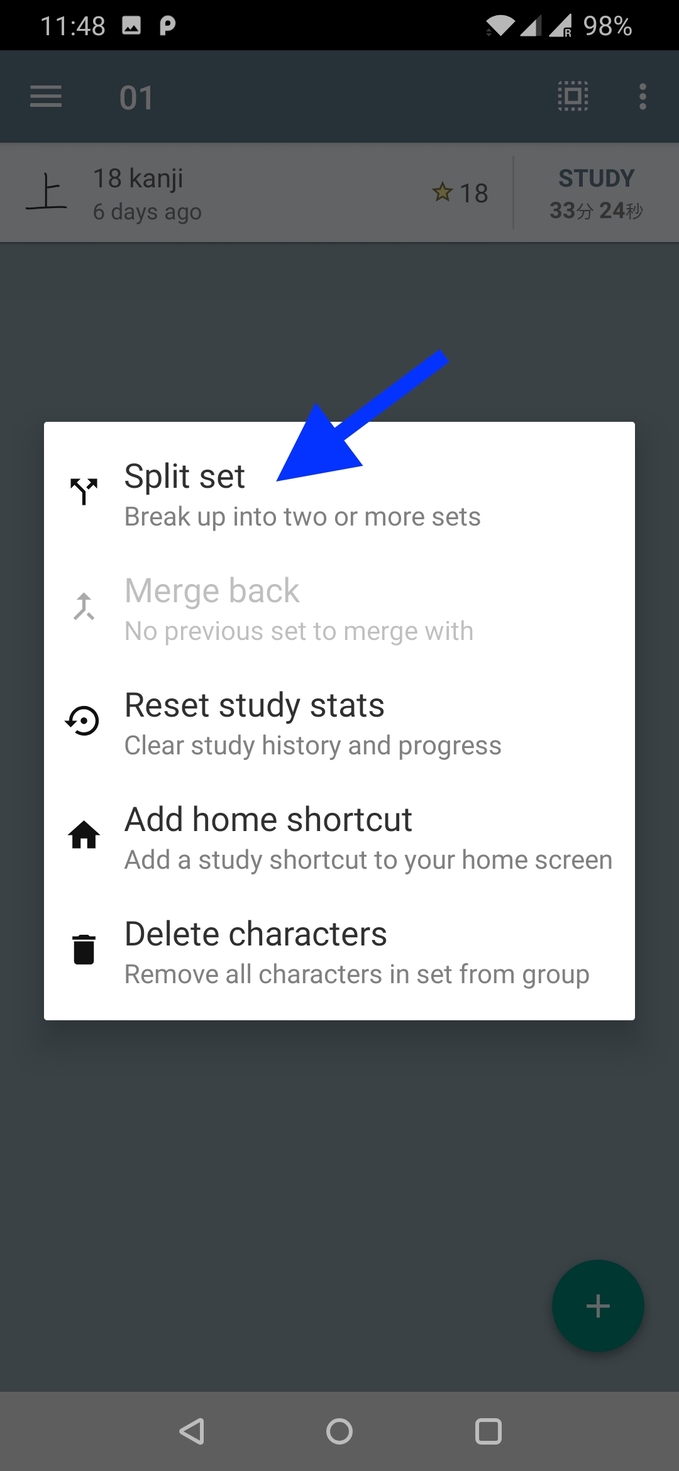
Split the 1 set containing N kanji into N sets each containing 1 kanji, by tapping on the set and pressing split set.
-
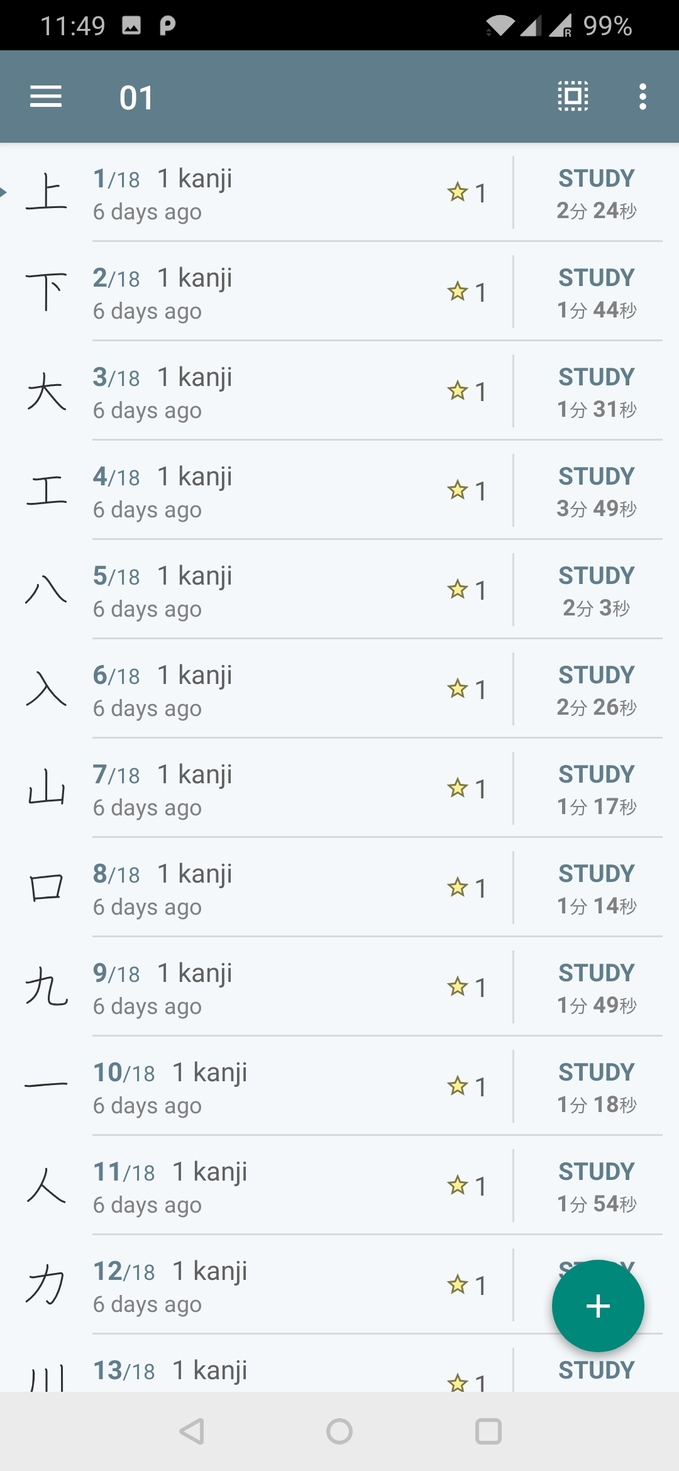
Then change Character count to 1.
-
The result (yours probably won’t have yellow stars, like this screenshot):
-
Now, after studying a kanji, mark the study rating to Seen (yellow star):
-
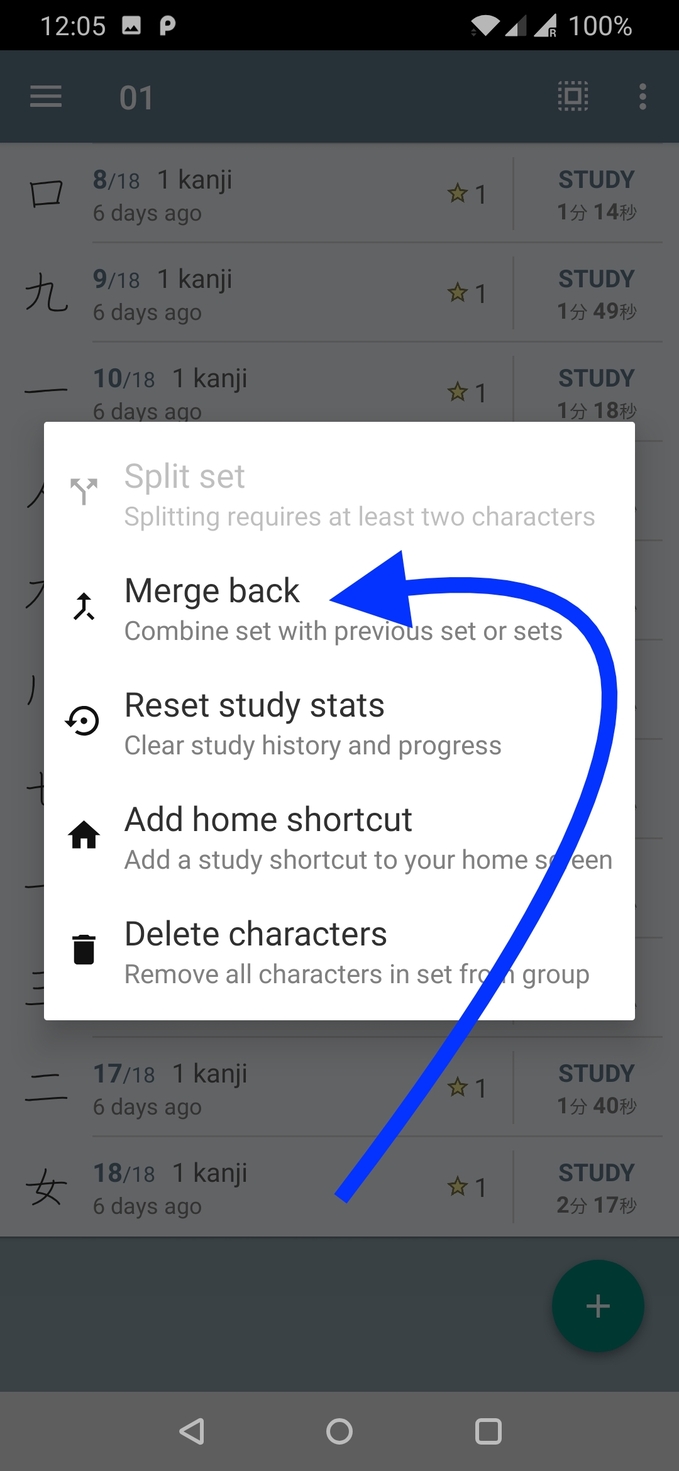
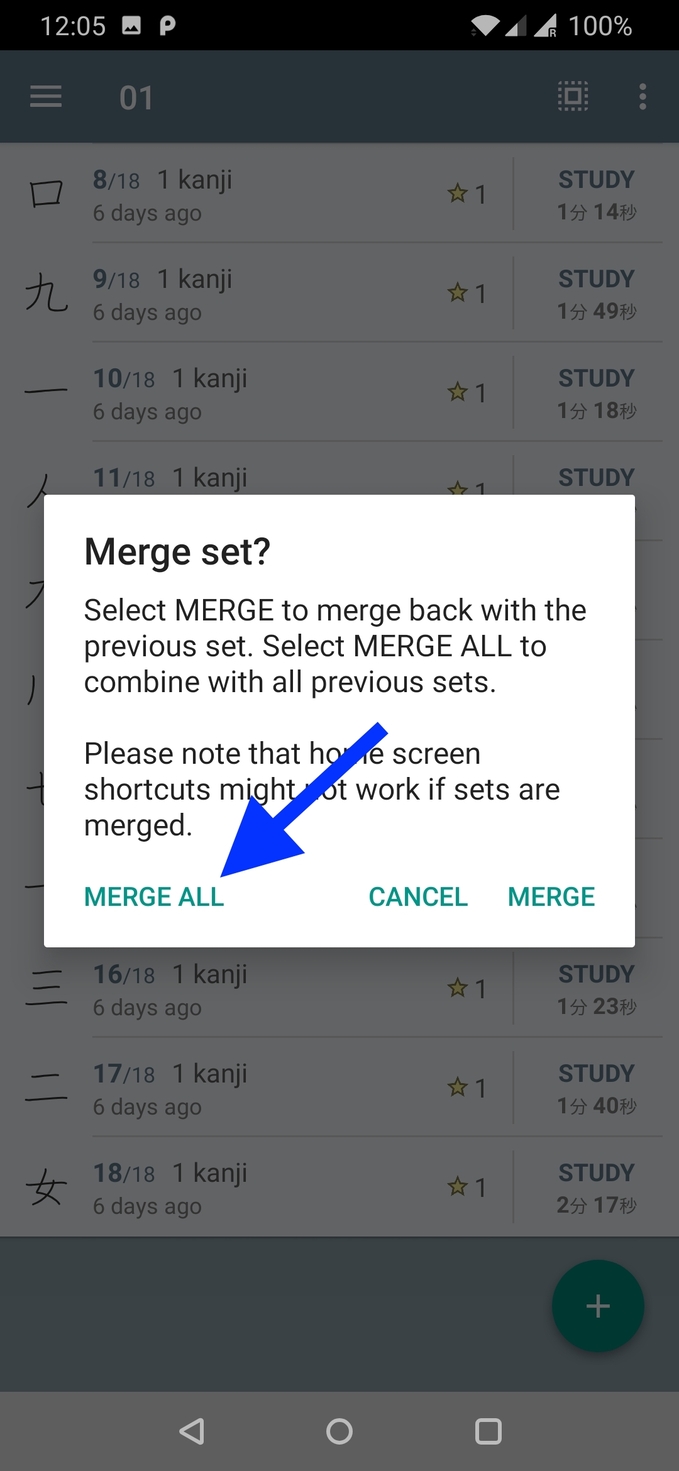
After studying and marking all kanji in all sets for a given WaniKani level, tap on the last set and press Merge back.
-
Tap Merge all.


(Note that after merging, the order is the same as what it was before it was split into multiple sets, which is great.)
This gives you the best of both worlds: being able to study individual kanji specifically, and being able to review the entire level after you’ve completed the level.